Pontus & Cito: Construction – part 1
I am going to take you on a journey through the construction of two of my new tables, Pontus and Cito. I will discuss the design inspiration and composition of the pieces in another post. Today is about nuts, bolts and sawdust! for those of you who came directly to this post here is a brief introduction to Pontus & Cito:
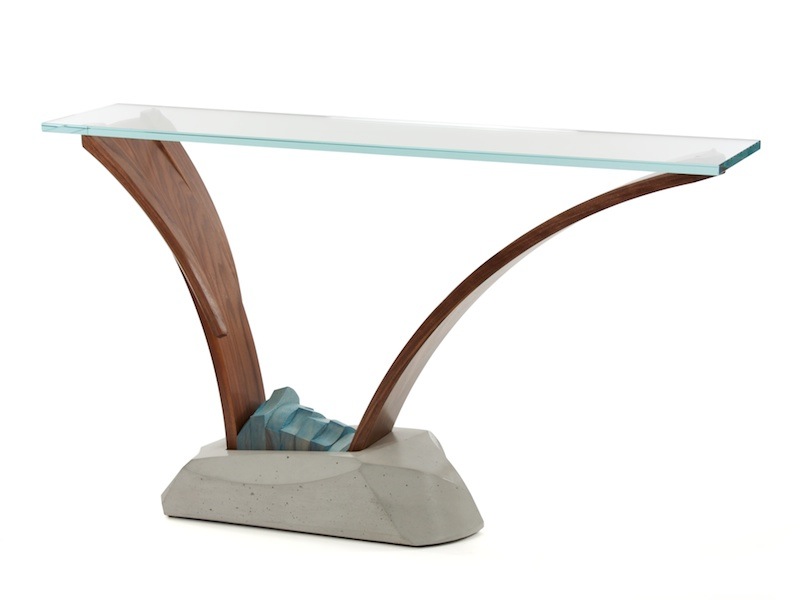
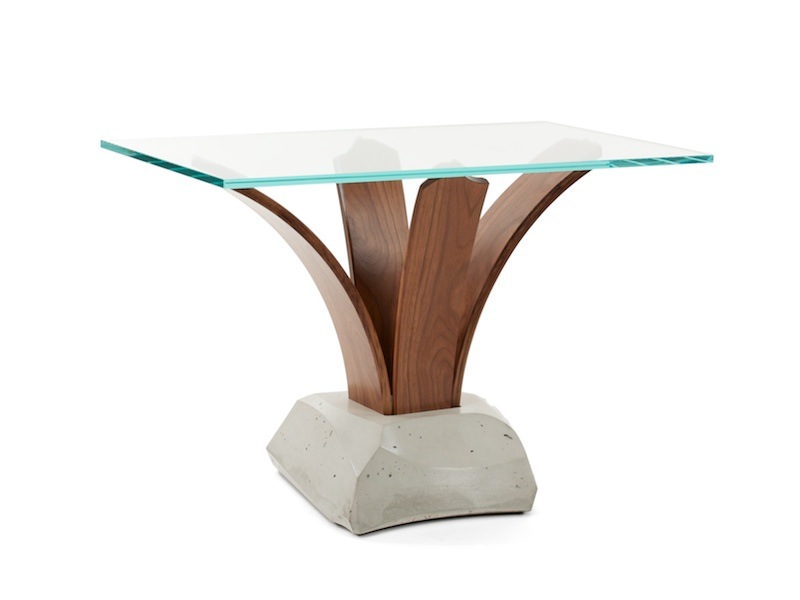
These pieces are sculptural pedestal tables featuring a cast concrete base that anchors bent, laminated walnut curves. The curves become the perch for the starphire glass top. The final detail is a guide ash mass that covers the hardware and becomes a focal point that I use to balance the composition.
More Information: Pontus modern console table with concrete
More Information: Cito modern pedestal table
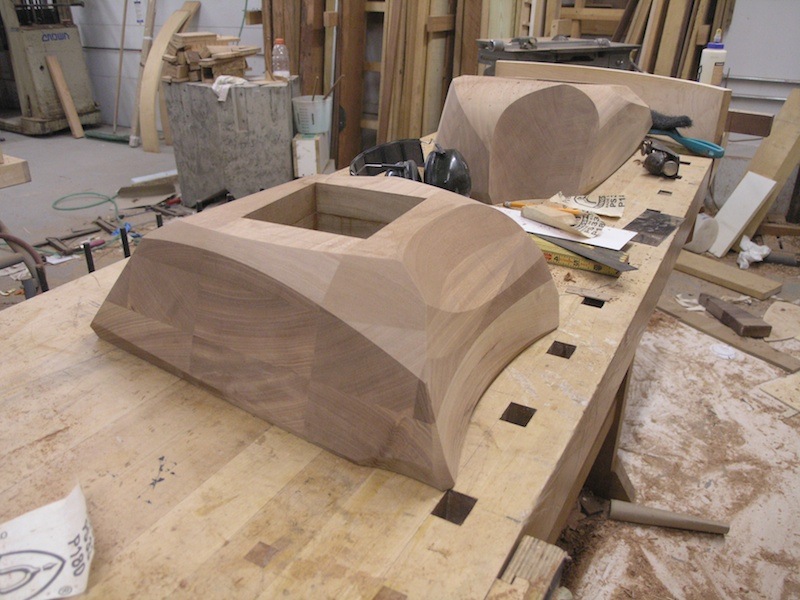
Let’s take a look at the construction of these pieces, beginning with the intricate cast concrete base. I begin by laminating a mass of wood.
I then shape it into the form that I eventually want to be made out of concrete.
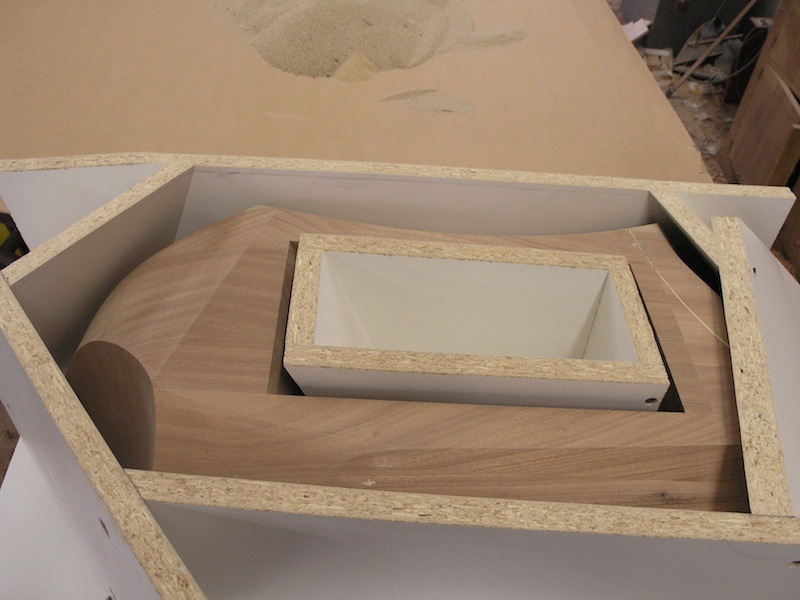
After refining the form, I create a shell around it that I will use to hold the silicone that will eventually become the vessel in which I cast the concrete. This is a technique that allows me to create intricate castings with a level of detail that I have not been able to achieve with this much flexibility.
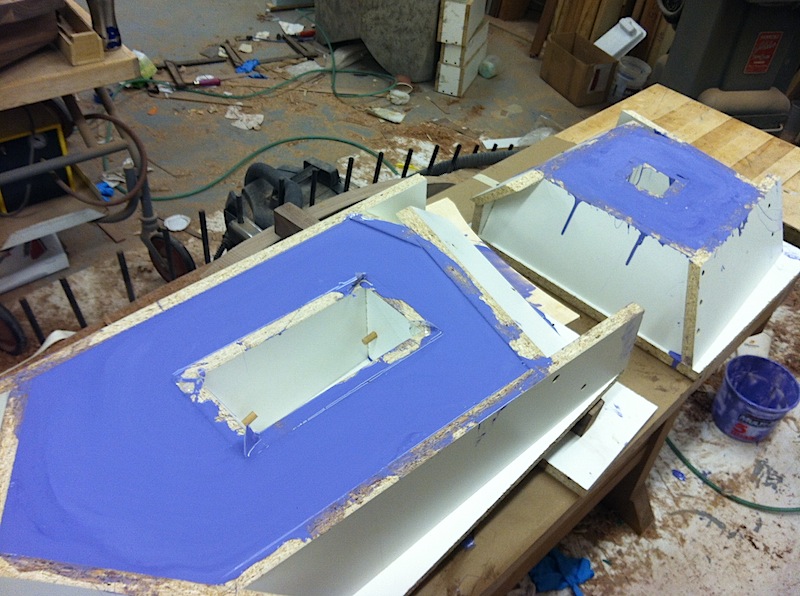
Mixing the silicone is a messy job. Yuck!
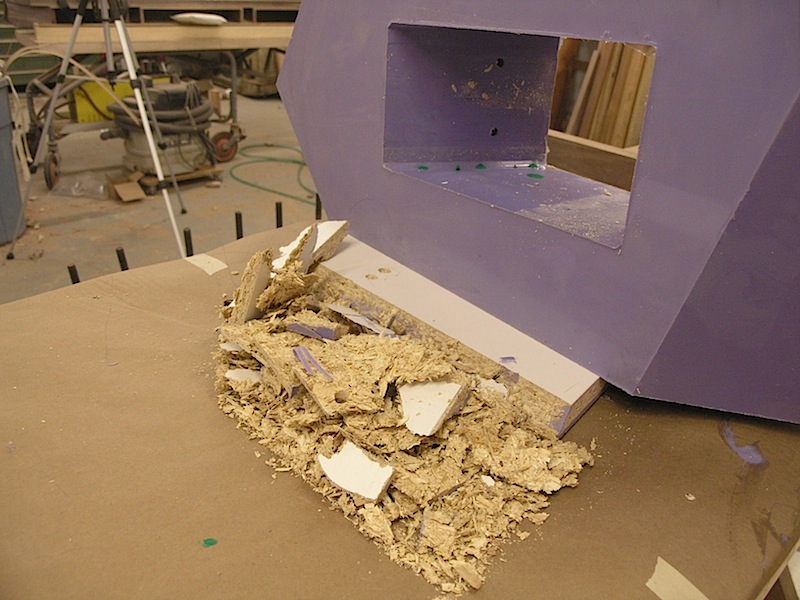
Things don’t always go as planned! The silicone shells were not harmed so all is good.
I assemble the hardware that will get buried in the concrete and allow me to connect the walnut curves. Finally ready for concrete!
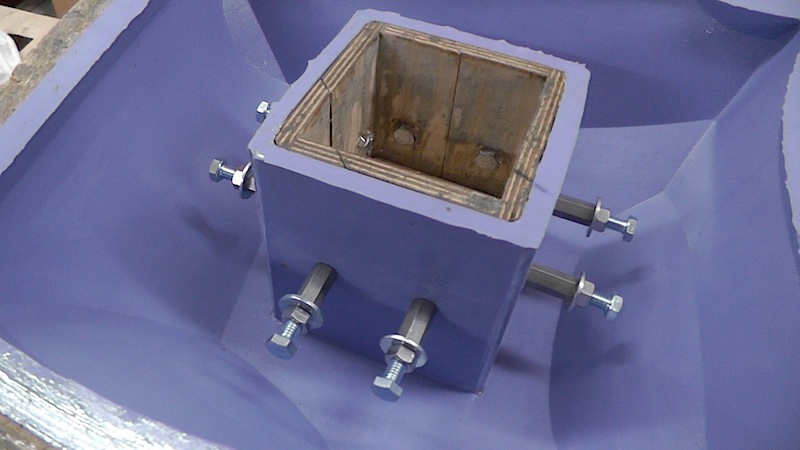
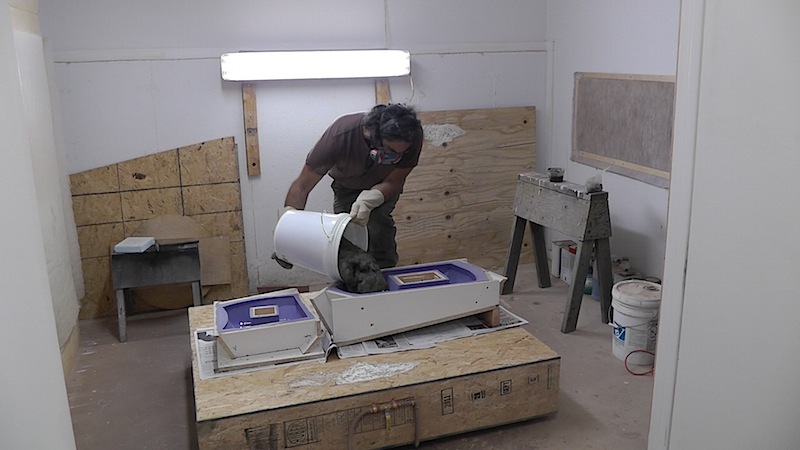
I use a special mix that has lots of reinforcement and acrylic additives so that I don’t need to put any other structure inside of the form.
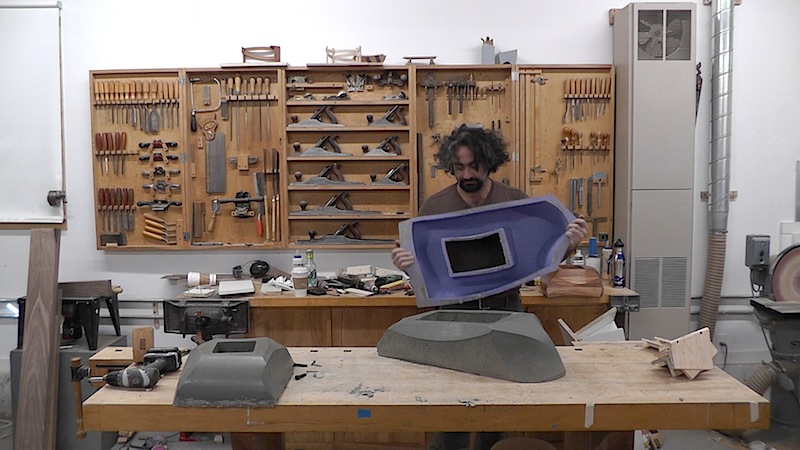
The moment of truth. Time to remove the shell and then the silicone form and see what we have.
Success!
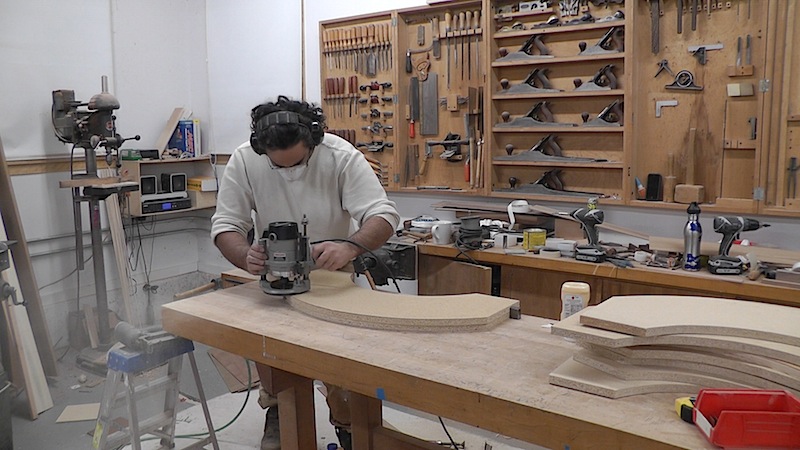
Now it is time to make the forms for the bent walnut curves. I start by swinging the arc that I want with my router onto a piece of particle board. I then follow that pattern and create a series of layers that I flush trim to the previous layer. I attach my special bending clamps and now it’s time to generate the laminations.
My biggest bandsaw gets the call for this operation. I slice the boards up into thin layers that I will put back together on top of my bending forms. The glue will lock the board in to the new shape.
I start the process of passing each lamination through the planer to get rid of the band saw marks. Keeping the laminations in order and taking away a minimum amount of wood is going to result in a really good looking joint.
Continue to part 2
Pontus & Cito: Construction – part 2
Return to part 1 to catch up on the construction of these two new pieces.
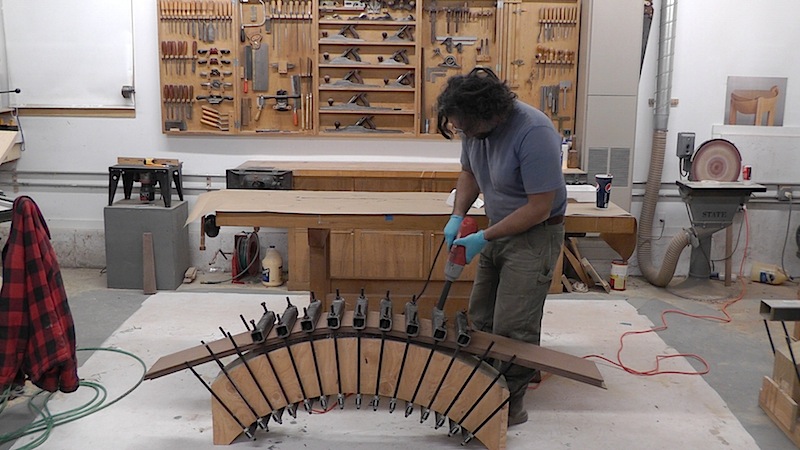
I spread an even coat of epoxy on all of the laminations being careful to keep them in order.
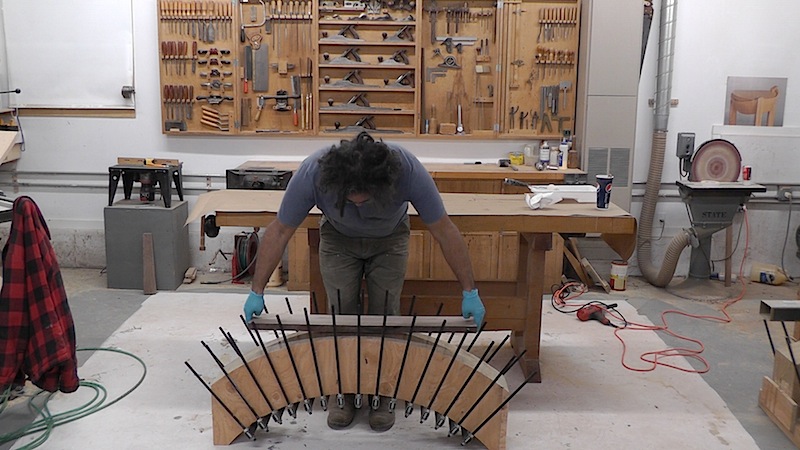
I place the bundle on the bending form and begin assembling the top part of the clamps. I tighten them with an impact wrench. I can get an incredible amount of even pressure this way.
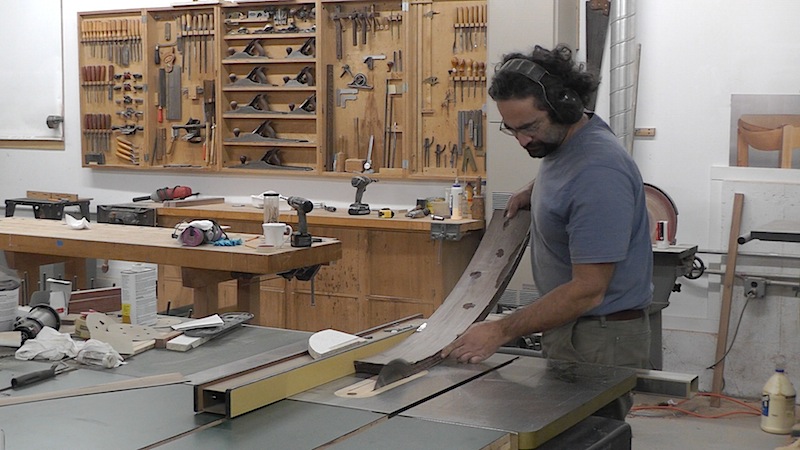
After the glue dries, it’s over to the joiner to clean up one of the edges.

Then it’s over to the table saw to make the corresponding edge parallel.
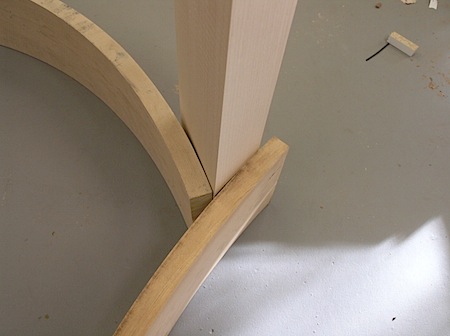
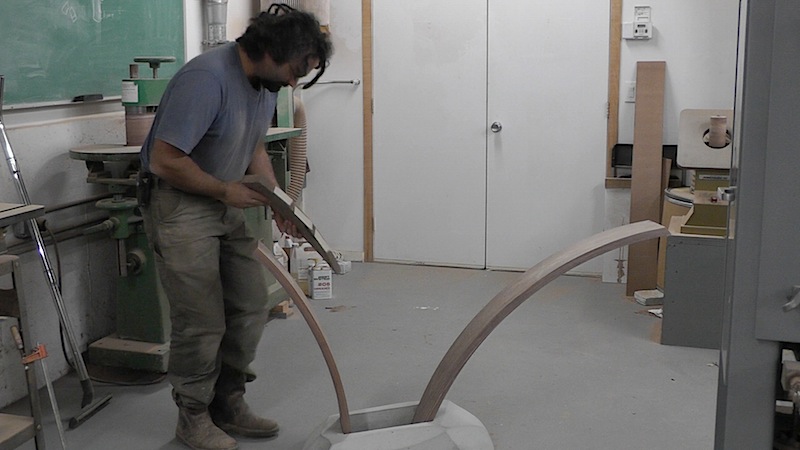
The components are now made, so I can begin to focus on the composition. Pencil lines, band saw cuts, and double stick tape help me at this stage to quickly refine the direction f the piece.
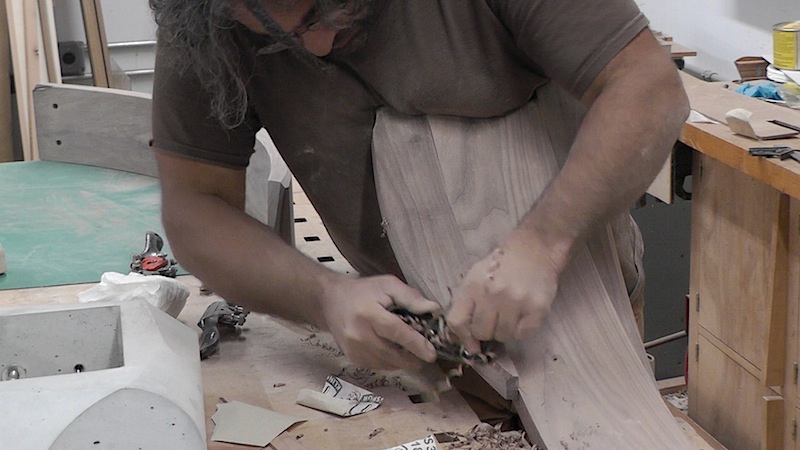
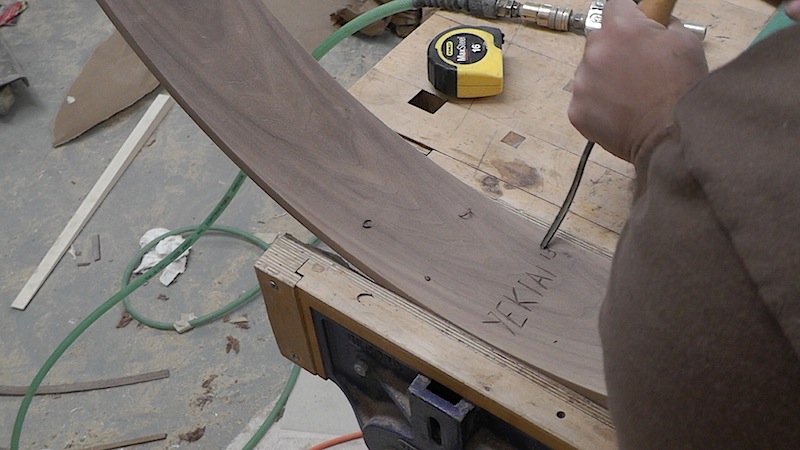
I use hand tools to facet the piece to really complete the composition. A thorough sanding and it’s time to sign the piece.
I sand all of the parts. The reward is that i now get to sign the piece!
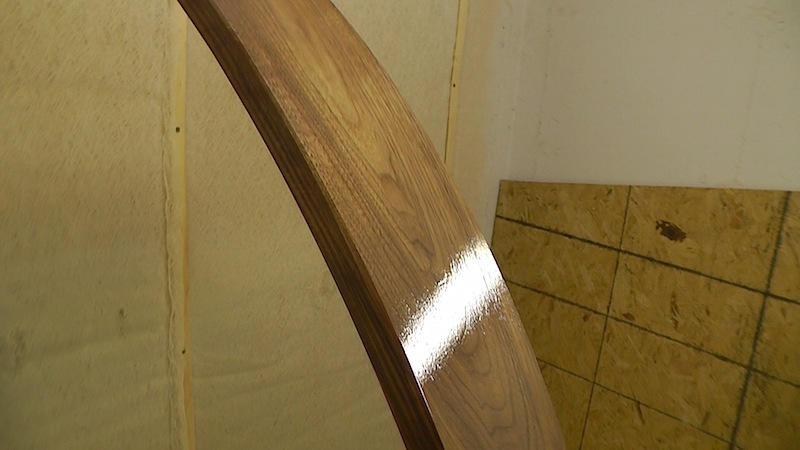
I spray a clear, water-based lacquer on top of a very thin coat of oil, which I use to give the walnut such a perfect color.

I use the reflection to make sure that I have a perfectly even coat of finish on the piece.
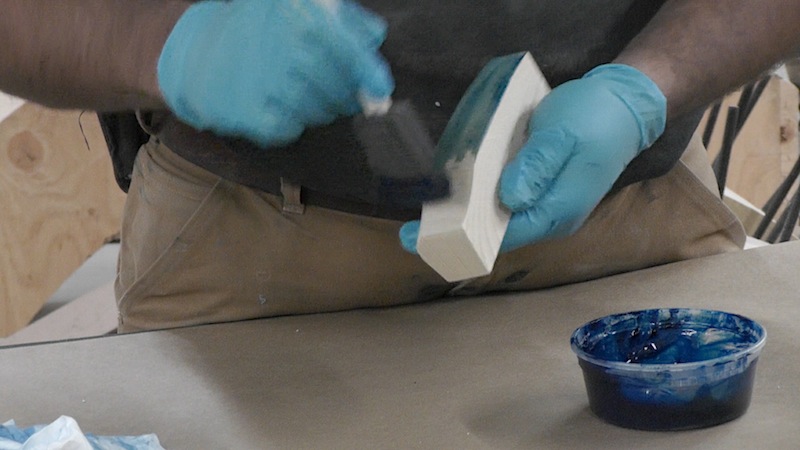
I mix some artist’s oil paint into my gel polyurethane, and I brush it onto the ash pieces. I love the way it clogs the open pores and becomes such a focal point of the composition.


Desk #2- Part 1
I have been thinking about new work for the Architectural Digest Home Design Show in NYC and the Smithsonian Craft Show in D.C.. The need for new work seems to have converged with a bit of success one of my pieces has had in the blogosphere. I recently added Desk #1 to my website. I made this piece while I was a student and it marks the moment that my style had matured. The piece is still one of the best that I have made and someone at the Russian design blog Novate agreed. Well, I think they agreed! Please do not shatter my fragile ego if this translates to something less than flattering.
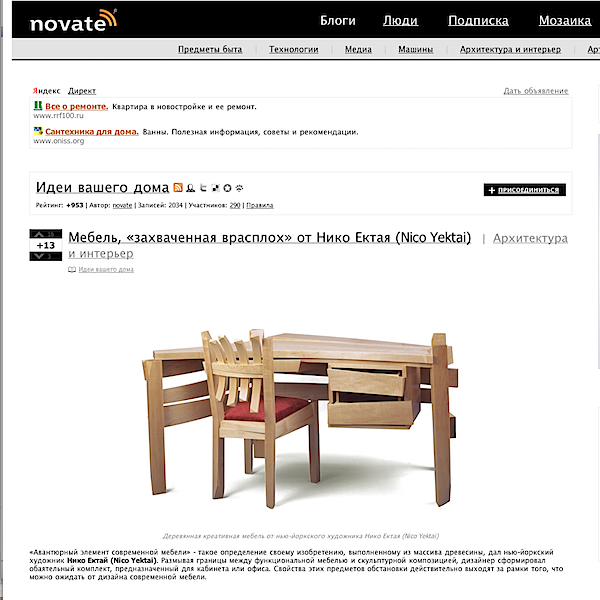
Occasionally a blog post will go a bit viral. This one traveled through a number of translations into half a dozen languages before it ended up in English again. This digital success encouraged me to do something that i have alway wanted to do- revisit this piece. In the coming blog posts I will chronicle the process of designing and building a piece like this.
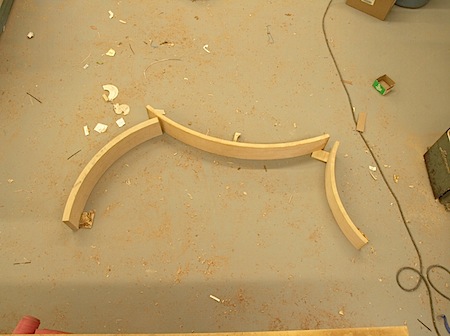
My goal is to pick up where I left off with the desk and see if I can push new ground. The first principal that will be different is the two tiered approach to the curved elements in this desk. The original had a three layer system. The model below helped me get organized and then…
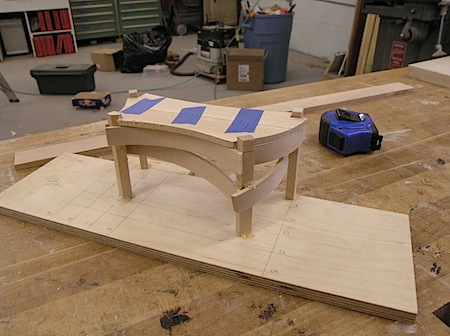
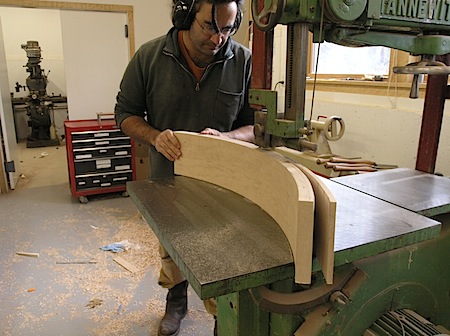
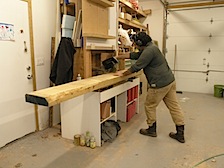
I was able to pull the actual curves down from the shelf and mock it up. Purchasing and inventorying these steam bent curves was one of the best things I have done for my workflow! Once I had the curves where i wanted them I was able to cut plywood blocks to help me figure out the angles that I would need to cut on the legs. You may notice that the curve on the left is quite thick. I will need to trim it down before I go any farther.
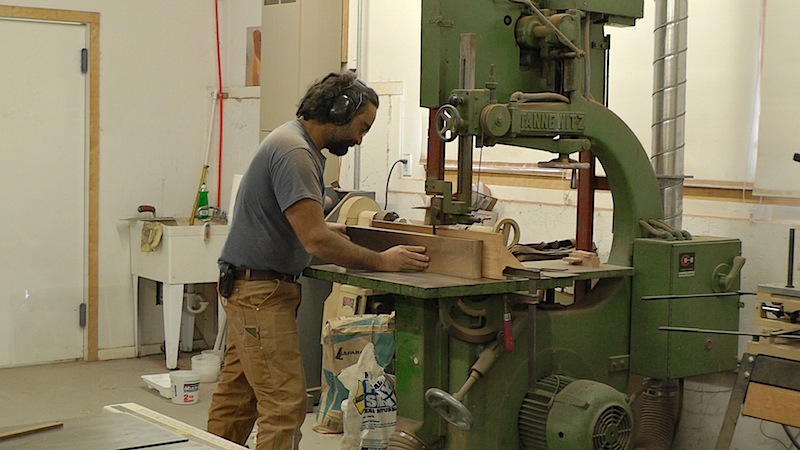
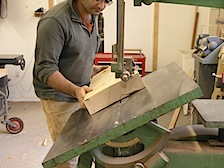
I take the piece over to my big saw, the Tannewitz, and peel off a useable chunk. I love that saw!
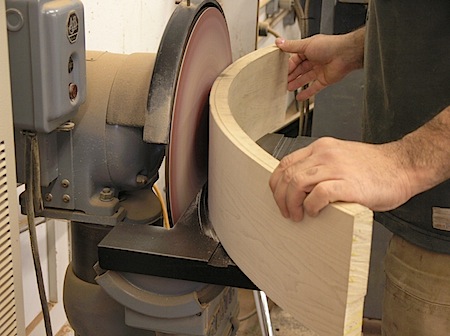
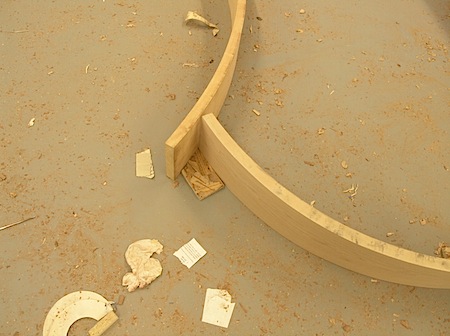
A quick trip to my State disk sander to clean up the bandsaw marks and I am back to figuring out the joinery.
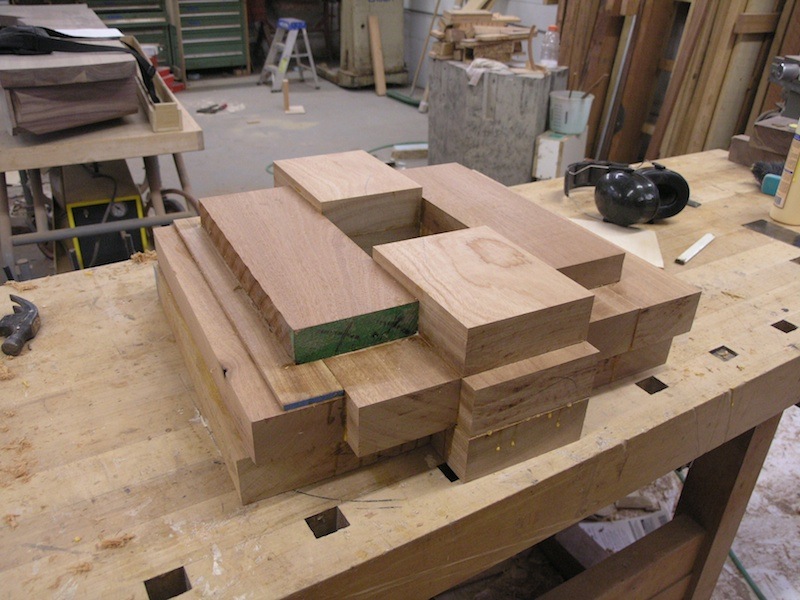
I mentioned these pieces before. They will show me the profile that the legs will need to have to give the desk it’s shape.
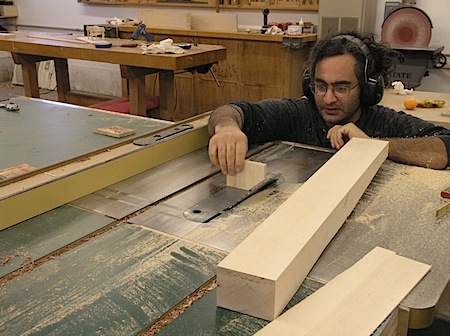
Here they are lined up agains the end of the 3″ thick maple board. You can see that my approach to woodworking is very efficient! I will be able to get the maximum yield from this piece of wood.

The legs start their transformation from this huge plank at the chop saw station. Then it is back to the trusty Tanny to rough the legs out. I used the plywood template from the previous shot to set the angle of the table.
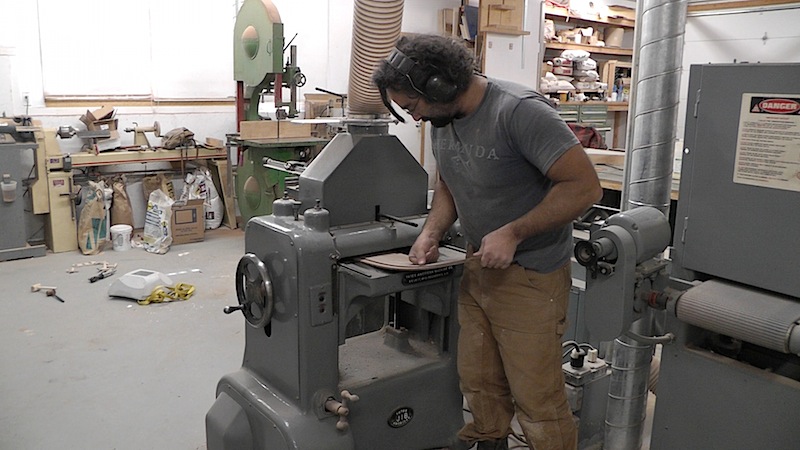
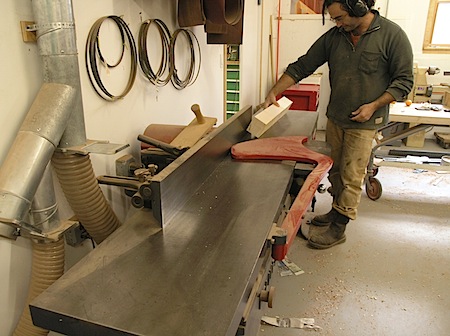
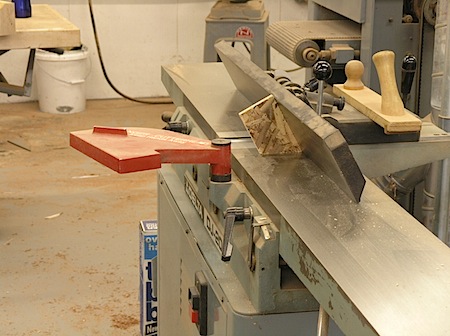
I take the legs over to the Oliver Jointer to clean up one side of each leg.
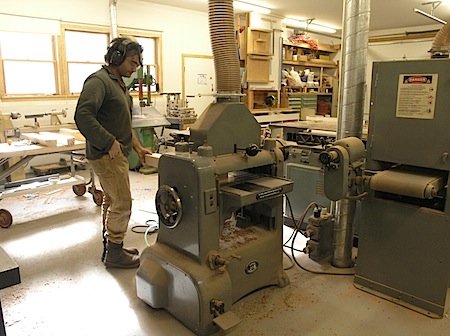
Next in the chain is the planer. I will clean up the side of the board parallel to the one that I just did on the jointer
I get some more mileage out of those plywood pieces. I use one to set the angle on the table saw.
Now they see their final action. I set the angle on the small jointer to clean up the remaining rough surfaces on the legs.
I have replaced the plywood place holders with the actual legs.
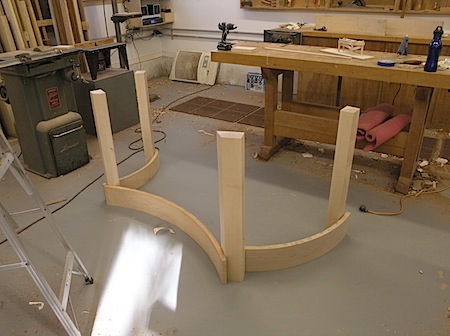
As of now everything is right where I want it. I am ready to lay out and execute the joinery. It is going to be quite involved so I will leave it for the next post.