Circle Bench
I have been working on a commission for a site specific bench. A circular bench that will wrap around this majestic Beech. The trunk is nearly 5′ in diameter and the root system is nothing short of beautiful. This challenge has pushed me in a number of new directions- all of which are very exciting.
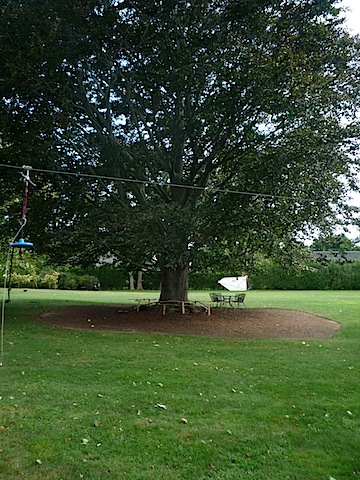
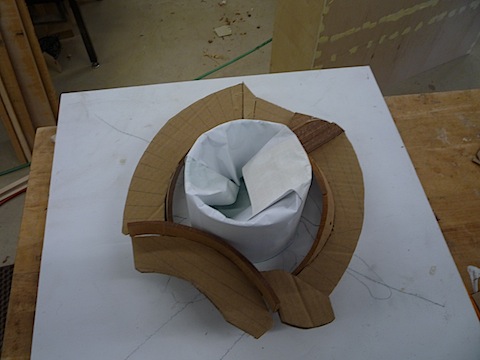
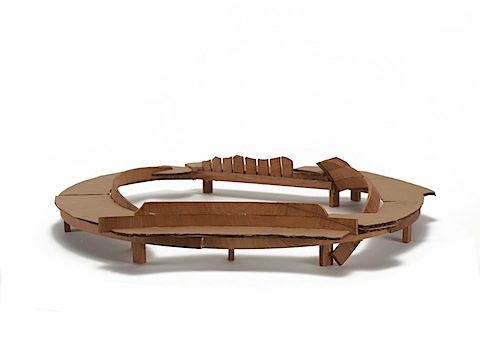
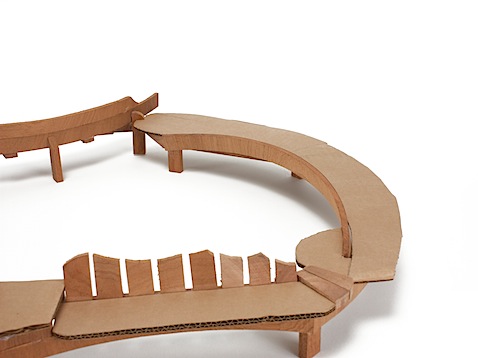
Here is the model as it came into focus. I had to compose in 3-d after coming to the realization that the bench would be based on very large sweeping curves. I wanted the curves to have a dynamic relationship to the tree and root system.

The bench featured a number of seating areas that related to the actual use of the property. A chaise like section was coupled with a seat that faced the sunset.
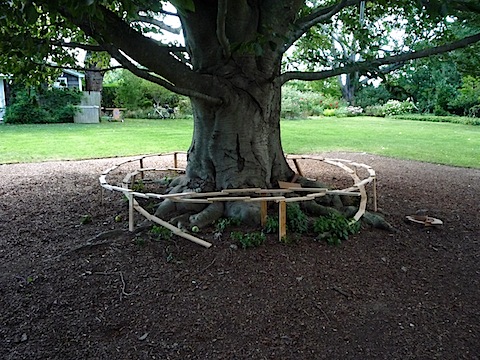
The next step had me devising a way to mock up the curves in my studio. The chalk circle represents the trunk of the tree.
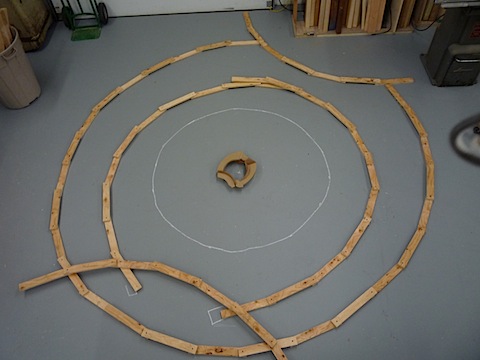
It had been my hope that t he roots of the tree would spill out from under the bench blurring the line between bench and tree.
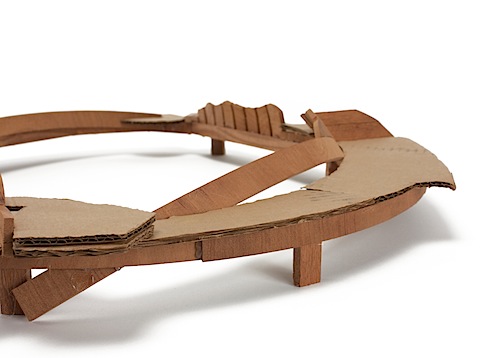
Nice try but the reality was that the bench needed to be bigger. MUCH bigger.
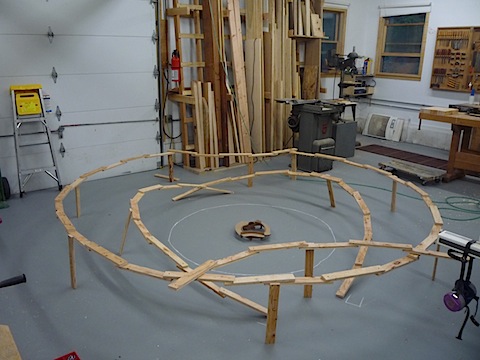
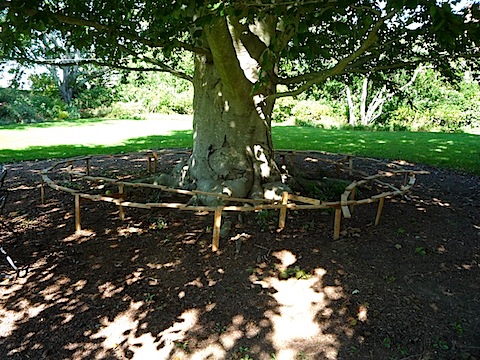
I went back to the drawing board and increased the diameter of the circle bench from 12′ to 18′! Now that the scale is right we were able to focus on some of the details in the piece.
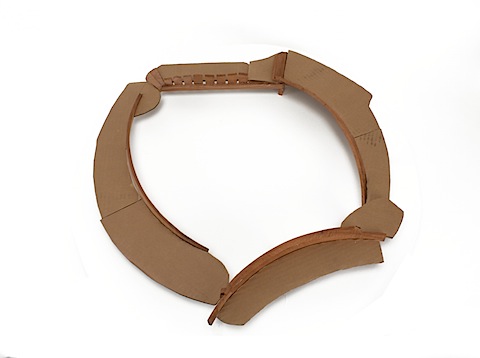
Here is the model which reflects those changes. If you click on the picture below you can rotate the circle bench. (does not work on the iPhone/iPad)
Here are a few more shots that should complete the picture of this bench. Now for the next challenge…actually building this piece!
Concrete Bench: Part 2
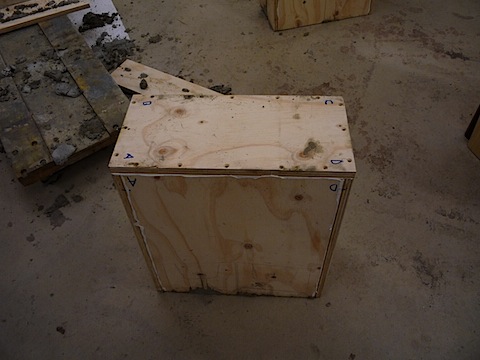
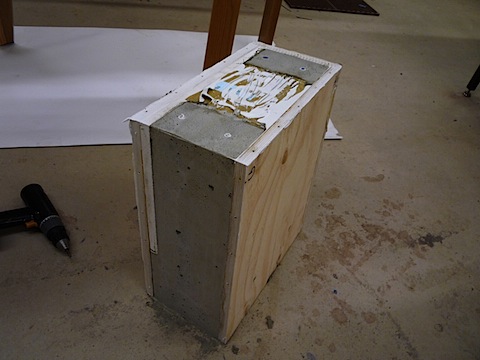
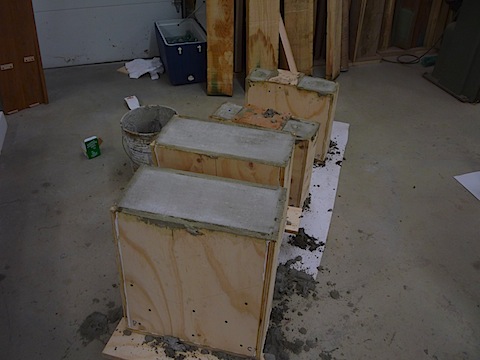
I have cleared some other work from my studio and I am back on the new concrete bench full time. In the last post I had filled the forms with concrete. The next step is to remove the casting from the form. This should give a better idea of how the whole casting process works.
First I turn the form over so that i can remove all of the screws and bolts.
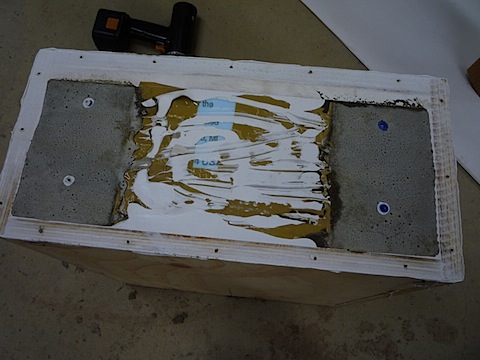
The pieces start to come off. The small blue circles are plastic inserts buried in the concrete to allow a soft foot to be screwed to the casting. This will protect the floor of the bench is to be used indoors. This bench is going outdoors on a concrete patio so the foot will serve as a shock absorbing transition. Without it the leg would surely chip. The brown and white and blue mess in the center is apiece of foam that formed the relief in the foot detail.
With the side piece removed the white PVC edge is revealed. This insert forms a very important detail in the leg. Lets take off more!
You can clearly see the recess formed by the foam block. Remember that the leg is upside down.
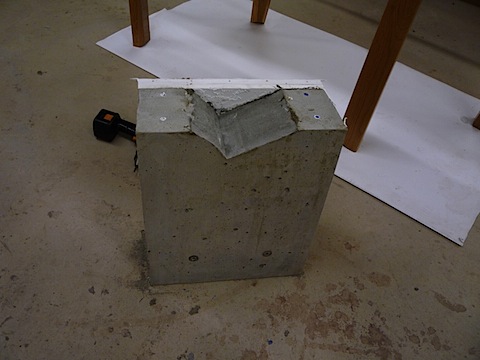
The last piece off will be the PVC board that formed the step detail in the face of the leg

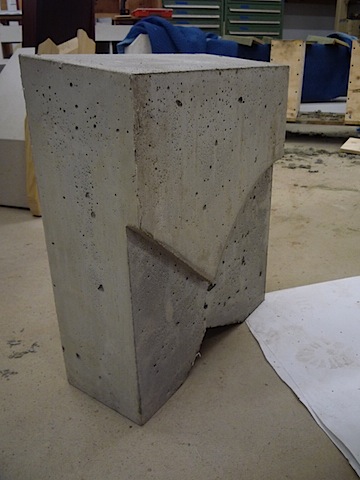
Here it is removed and the leg is now in the proper position.
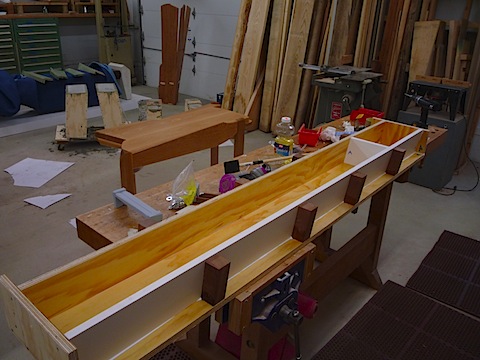
The rest of the shaping on the leg will be done with this wet grinder. Before I tackle the final detailing I need to focus on the seat.
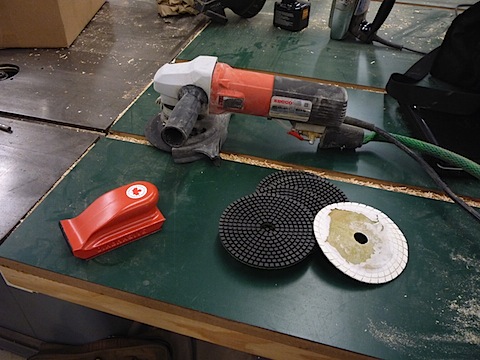
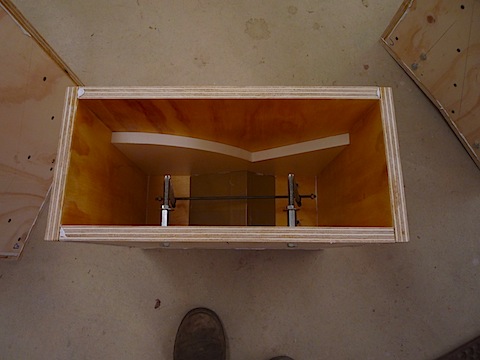
Here we go! I begin by cutting and gluing together foam. The foam will help make the seat lighter. The next installment will focus on the stainless steel that will reinforce the seat.
Concrete Bench Part 1
Concrete Bench Part 2
Concrete Bench: Part 1
I have started construction on a piece that is pushing new ground for me. It is the first piece that I have designed without any wood. This is relevant only because I approach furniture design from the perspective of being intimate with my main material, wood. The concrete elements in my pieces have steadily evolved since I first used the material in 2005. The all concrete bench will be known as outdoor bench #7 and is currently in production with its predecessor, outdoor bench #6.
Here are some shots of the model
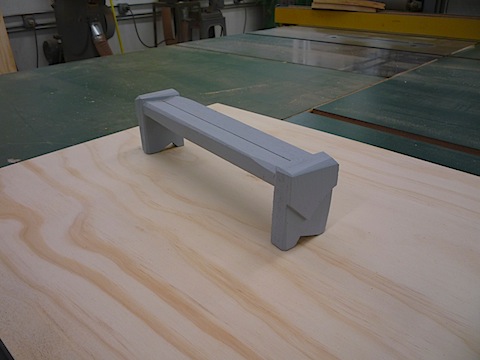
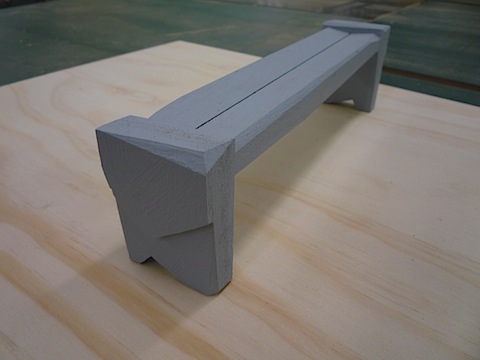
The detail on the legs are an evolution of the detail that was first developed for Outdoor Bench #6. That detail was first used in the big planter that I made for the Open Bowls show at the Longhouse Reserve. I mentioned before that Outdoor Bench 6 and 7 are being built at the same time. They both rely on that detail so I am glad that I had an opportunity to incorporate it into the planter. That experience gave me the confidence to move forward with both benches.
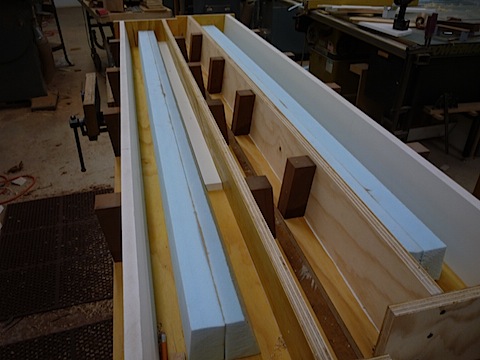
The detail is made by cutting a piece of PVC board into the negative shape of the desired step. I can foresee a day when I make the whole form out of the PVC board. I have a feeling it is going to cast very well. For now I am content to mix the new PVC board with my standard technique of using AC plywood.
Another new development in my concrete procedure is the addition of a wet grinder with diamond polishing pads. I bought the grinder to help make the facets that I use to give each casting its unique presence. The ability to make all of the surfaces look the same regardless of the material that was used to cast them is quite liberating. In the case of these legs I can cast them with the top surface up. In the past I could only have the bottom of the feet up becasue the finish would stink. All is different now that I can grind that surface to perfection.
The final part that needs to be fabricated presents a number of new technical challenges. The seat is going to be fun. First of all it is made up of two separate castings that will be bolted together. This will allow me to give the seat an angle towards the center with a small gap for water to escape. The final. consideration at this stage has to do with designing some flexibility into the forms so I can vary the length. This is not a factor in my other benches because the seats have all been made of wood. My solution was to pick a maximum size for the seat and build the form to that size. I then built a sliding stop so that I could cast into a smaller portion of the form.
There are plenty of other issues that i will need to address before I can cast the seat. To be continued…
Concrete Bench Part 1
Concrete Bench Part 2
